Sunday, 9 February 2014

One Step At A Time

Time to keep going.
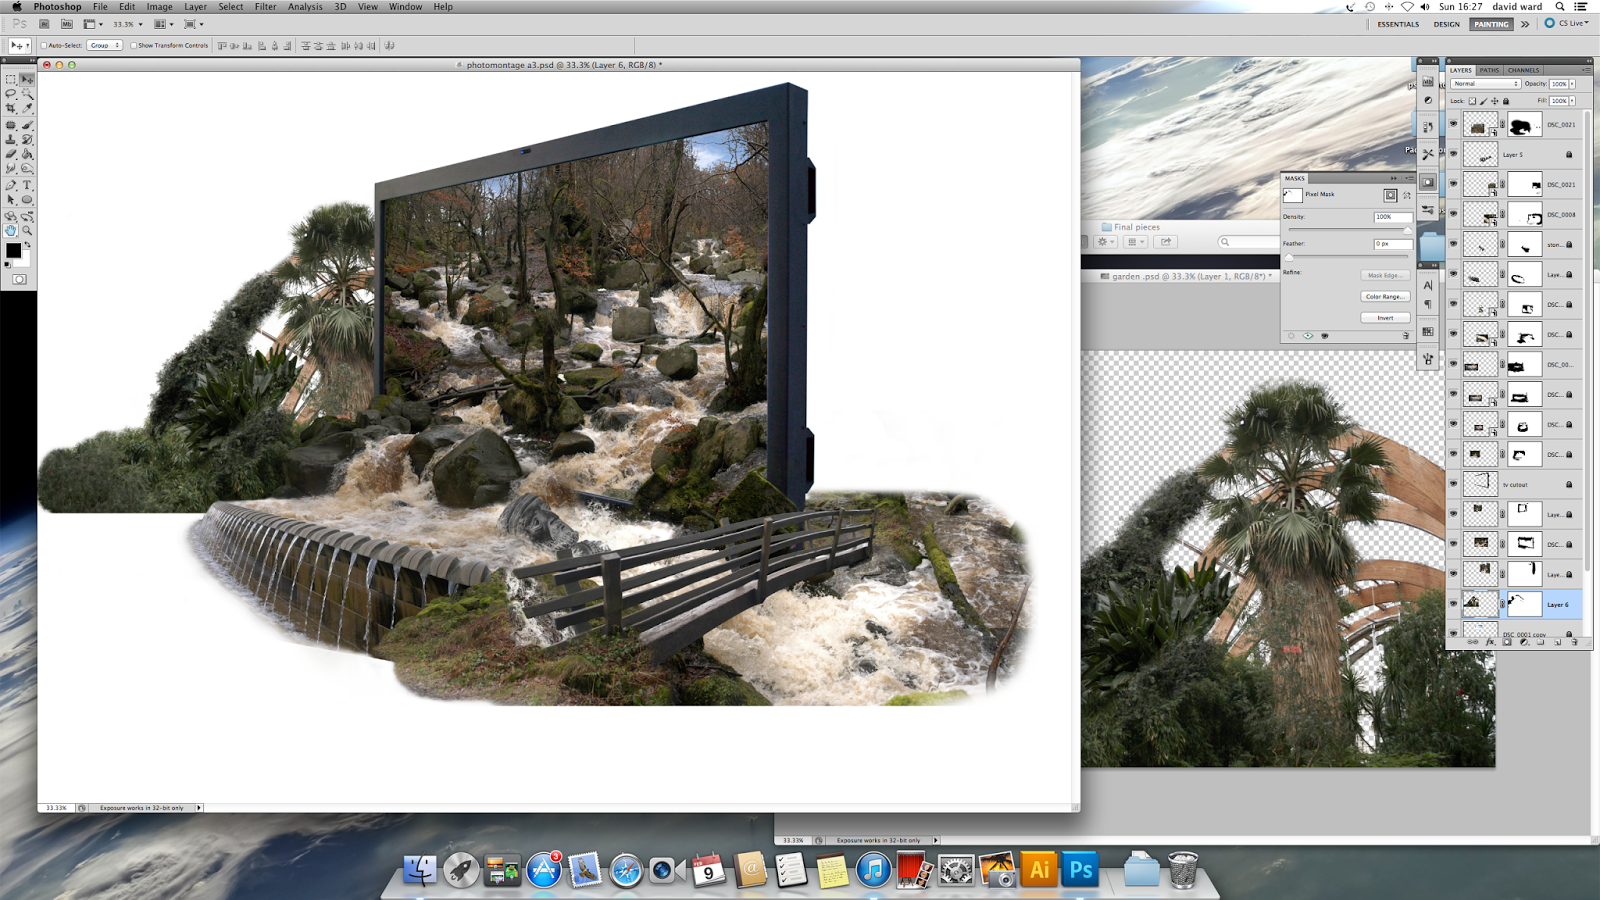
I started to piece parts of photos together, blending them until they looked right.

I wanted to add this statue but the colours didn't fit. so I desaturated the image which gave me a stone colour.

Then I submerged it in the river, I rotated and resized it.

Applied a layer mask and painted away parts using a custom brush that gave a splash effect to add realism of water rushing past the statue.

Then to end the river in a natural way I have tried to direct it around the back of the screen.

You could say I am over complicating this image but I am enjoying this process and learning a lot of how to use photoshop. So I cut out the bridge placed it and skewed and altered the perspective until it looked right.

Then one step at a time blended parts of photos building it up slowly.

This image was really hard to cut out. I just wanted the wooden beams and trees. I used a channel mask but this still didn't work properly (a valuable lesson to learn when actually taking the photography, think of how it can be manipulated in photoshop.  

After removing parts using a channel mask I used a foliage brush to paint or cut out the rest of the image. and added other parts of photos until I was satisfied.

Then It was a case of small steps

Slowly building the image up 

Blending 

And painting

Until I was happy with the result
Now I have the image the next step is the graphics, the message and the final composition. I have layered file saved so I have the freedom to play around with the image without the worry of not being able to go back.

Thursday, 6 February 2014

Trial And Error

I felt that the I needed to do further experimentations before rushing to get it finished, So I started again.
This time I used a setting known as HDR toning to try and enhance the images that I had taken.

But I felt that the effect didn't work for what I had in mind, it made them look too bright and I found it hard to try to get the right effect, I felt less in control of the image.

But I kept on going to see if I could make it work, So I started to cut out some foliage to see if it would help make the image better, for this I used the channel masking technique and painted out any excess pixels

I placed the object in the image but yet I felt the image wasn't feeling natural so I left it there. 

Then I started to play around with other objects I had cut out to give myself a idea of how the composition would look . The hands do look ok but there is work to be done to make them feel as if they belong in the image as opposed to looking cut and paste, burning some shadows and dodging some highlights will help me with this.

Then I had ago with a custom brush named storm cloud and painted in some cloud effects. With some care and attention this could work.

Now I am starting to build this image towards a final out come. I started as I did before pasting photos, altering there perspective and blending them using layer masks.


I yet again used channel masks to cut out complex parts of the image 

Blended them in within the screen


Until I ended up with this. I am happy with this start, It looks natural the rivers flow the right way but and the perspective looks right in my opinion. I thought of placing more elements within the screen but I thought there was enough within the screen.

Now I tried out a technique so I could control the light in the image.(this is something that would be done in the final stages as you have to flatten the image to achieve this effect). I flattened the image duplicated it, lowered the brightness on one layer and brightened it on the other, then I applied a layer mask which then gave me the freedom to pain light as I pleased. This will really help give the image some atmosphere. 

Now I started to think out of the box or out of the screen if  you will.

I started to place other images to see what fitted in with the image It was case of trail and error, flipping images horizontally,  


Blending them In

Using the pen tool for more refined selections 


Until I ended up with this, This is as far as I have saved up to, in other words I am happy with this. now I want to play around with the composition and effects to get a idea of how I can take this further

This just seemed (the fountain) too out of place.

Same with this it didn't seem natural and was hard to try and blend in.

Now this is better I like how this part of the fountain fits, I can see how I can redirect the flow of the river and have a natural cut off point of the image

This Image gives me the idea of where to go next and gives me confidence that this image will look good and not a total disaster. With more refinement and care I could do this project justice.

Sunday, 2 February 2014

Neil Woodall

Works done by Neil Woodall
Aquatint Prints
Sheffield Millenium Gallery

The Forest 2013

Gorsey Bank 2013

Derwent-Upstream from Haddon 2013

Neil Woodall is the artist that I have chosen to base my report on. His work is a series of aquatint etchings of natural landscapes landscapes that are based on the peak district. The quality of the prints are amazing, the detail and skill that has gone into the print plates are on another level.They look photo realistic but with a rough blotched effect that gives them some style. I like the absence of colour and how he still maintains a high level of detail using different shades of gray. He also mangoes to achieve depth in his prints with slight changes of the tones. The process is a very long and time consuming one but once the print plates are done he is able to achieve many prints from one plate but the plate will eventually ware. Firstly he degreases the plate with ammonia so there are no traces, as this would contaminate the plate. he then paints ares that he wants to achieve a certain tone using a paint. Then he covers the other areas with a stop out varnish, from there he places the plate in a container (known as aquatint box)that circulates a dust that covers the plate and sticks to the exposed areas. From there he places it into a acid bath so it eats into the exposed area and creates a tone, the longer you leave the plate in the acid bath the darker the tone, then he removes the varnish using mentholated spirits, this is process of how he will build up image. To print with it he works a ink into the plate so it goes into all the groves of the image, then he wipes of the excess ink with a cloth until it is polished up and ready for print, he prints using a big printing press that pushes the inked plate onto paper to then reveal a print as shown above.

Building the final image

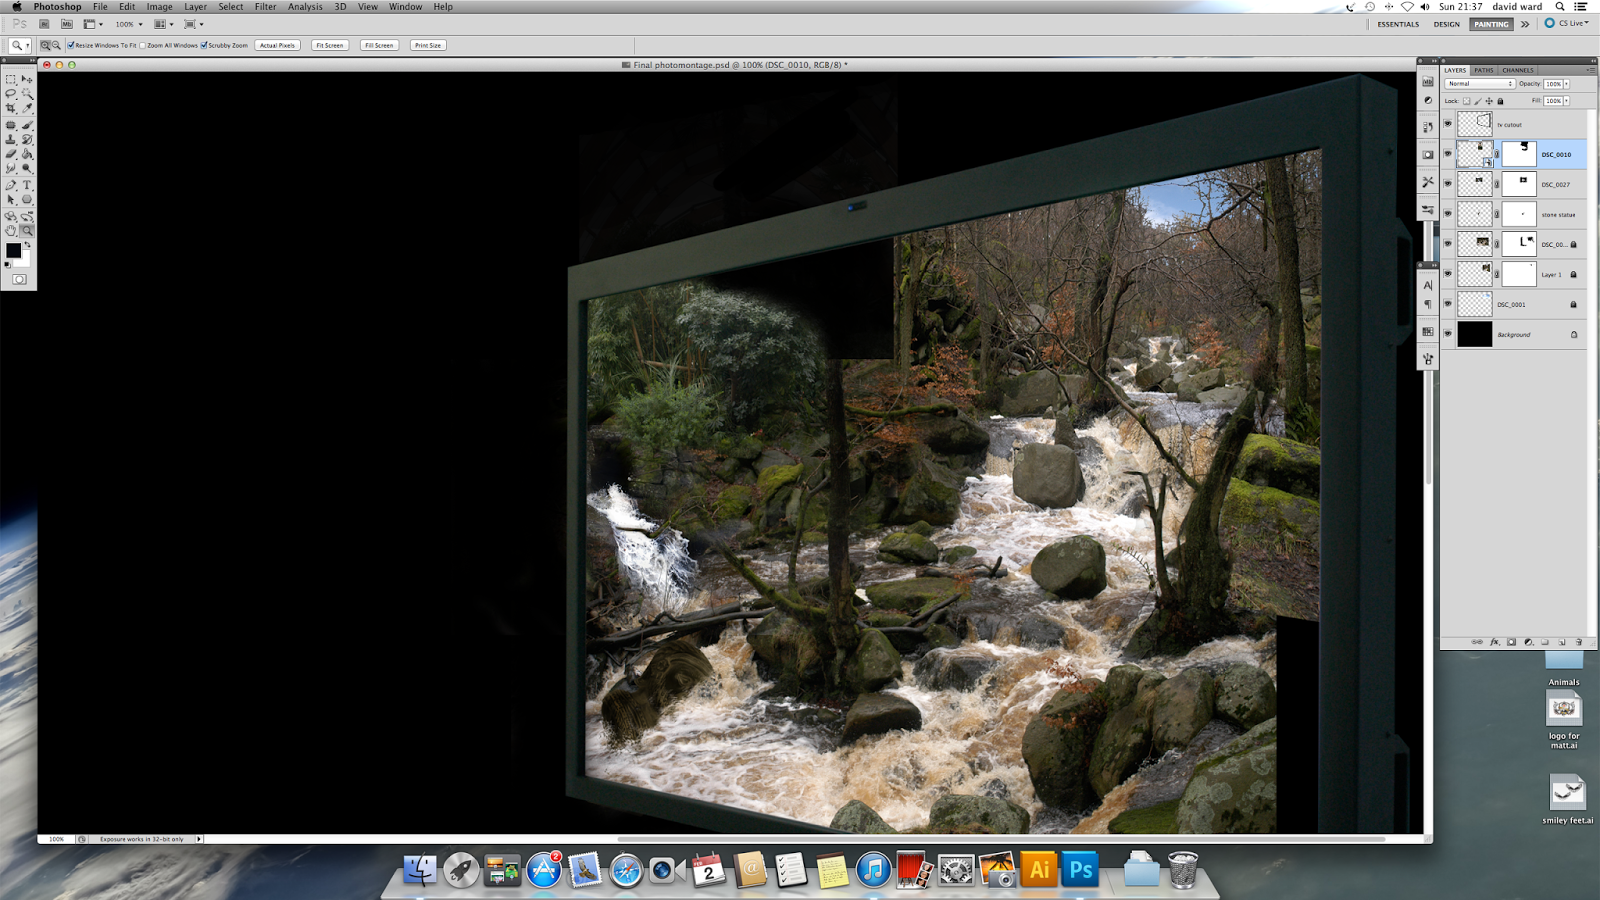
First I opened a A4 canvas in photoshop and filled it with black, then I cut out the television using the pen tool for a crisp cut until I just had the frame left and placed it in the corner.

Then I opened this photo on a separate canvas. I wanted a blue sky in the background so I had to remove the dull cloudy sky, but to do this with the pen tool would take too long. This is where channel masking came in handy. 

I went the channels menu and looked for the best contrasting layer, blue was the best so I copied it then went to level adjustments then began to change the layer until I had a complete silhouette effect. Now it is easy to make a selection of the sky with a layer mask and remove the sky, the river had disappeared but with a layer mask it was easy just to paint the river back into place.

Now I dragged the photo into my main canvas then changed the perspective (free transform) so I would fit with the angle of the television 

Then I just placed a picture of a blue sky behind that layer.

Next I started to build up the river and try to achieve some depth in the image. I placed photo another  above the previous and added another layer mask, then I blended the two together by slowly painting (using a graphics tablet) out parts of the image until I felt happy that they belonged together.

This was the result, notice how I have made the image in the foreground slightly bigger to give the impression of depth into the television 


I then tried to fit this image to to the left hand side of the river bank but It didn't fit in naturally so I removed It 

Next I added this little statue, I cut it out, placed it then i changed the brightness and contrast to make it look more natural, then I burnt some shadows along the left hand side to add more realism then rotated it and placed it in the river , then I added a layer mask and blended it into the river using a custom splash effect brush to give the impression of water flowing around it.

Then I added a small waterfall to the far left and blended it with a layer mask again
So far so good I am feeling confident but I do feel this could be better I will carry on to understand if the composition will work. I do fell it needs to be bigger and more refined, but at least it has given me the confidence that this idea will work.