Sunday, 9 March 2014

Making the Game

First I made A template of the size that I wanted the game to bemusing illustrator
I created another template slightly smaller so they the front cover and base will slot together.

Using the same process from an earlier experiment I began to build up the image


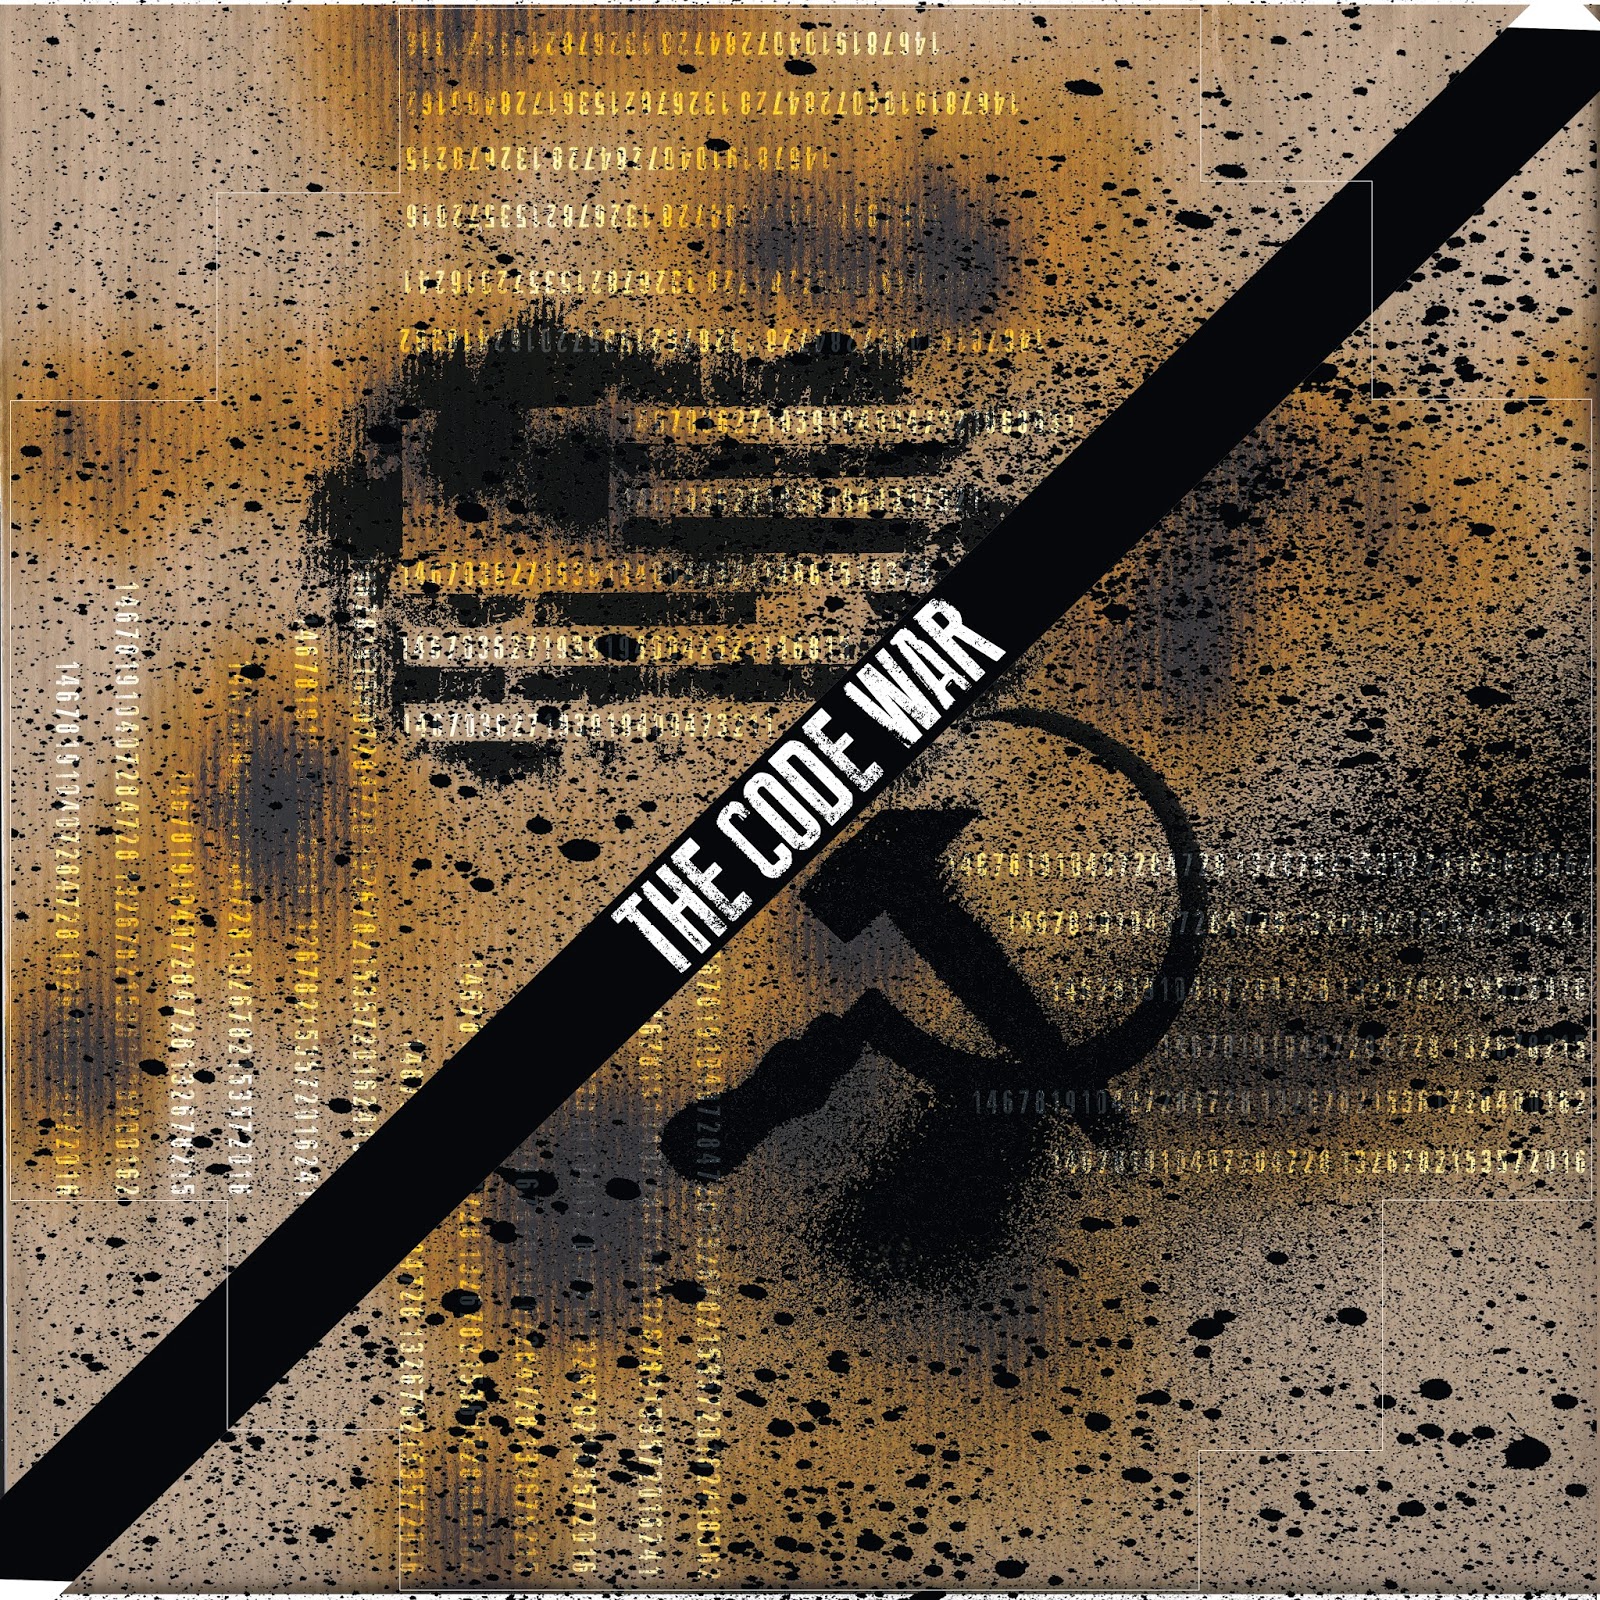
Placing the art work In the right place on the template

I place the brown textured paper on the a layer underneath the symbols and scaled it to fill the whole canvas.

I place the line across to symbolise the berlin wall and for where the text will be placed.


I thought It needed more effects adding so I used some spray paint on a A4 piece of paper, scanned it in.

Then placed it 

Scaled it 

Until it looked right.

I loved that burnt look that I achieved so I have used it again

Using the burn tool at 100% Exposure

I still thought some numbers would strengthen that message of a code game so I placed numbers across the page to add more interest. The old name I thought of (code breaker) seemed a little boring so I renamed it, The Code War 

This is the back cover (base) I thought a plainer approach would be better so the text could be read better


Now this is the game, It's becoming quite frustrating to design 

I have to make sure that It works 

Other wise the game and idea will fail

I think this needs to be worked out on paper first using tracing paper to make sure that it works properly.


Friday, 7 March 2014

Mixing Traditional with Digital

I started to manipulate the spray painted symbols in illustrator  to see what effects I could add 

I used the live trace mode for quick and effective results.

Then place it over a coloured fill.
The problem with illustrators live trace is effects like this make the object very slow to work with because of the amount of points on screen which makes the file size massive, but placing the object into photoshop will turn the vectors into pixels and be easier to work with.
This was another experiment using the same technique but this time I wanted to add some colour

So I live traced It


Then use the live paint mode to change the colour.
I am not keen on the colour I prefer it black and drab, but I do like the idea of the code effect.
I wanted to push this code effect further and be more apart of the design.

So I used the same method but this time I used one of the brush and ink designs that I thought could work

I am happy the way this turned out, the code looks apart of the flag but the stars look to perfect and don't fit in with the eroded effect.
Next I decided to try out the effects in photoshop

First I place a image onto a canvas
then added a new layer and applied a gradient over the image

Next I tried out different blend modes to see how it would change the image in this case I used colour burn

next I added some text and used the blend mode overlay to make the text blend in with the colours

I wanted to include both symbols in one image so I opened the Russian symbol 

I then cut it out using a channel mask


And blended It into the other image and darkened it using the layer adjustments mode.
I like the Idea of this divide across the page separating the two flags like the Berlin wall split the world into two, so using this idea and the images and effects I thought I would treat this as a mock up design for this code games front cover.  

I feel photoshop had the better effects and tools to manipulated the images so I stayed within the program

I used a channel mask to separate the image (black marks) from the white background


I placed a black fill across the page as a to signify the Berlin wall and that divide and place  the American to the west of the page.

Next I brought in the Russian symbol 

Using the same channel masking technique

And place it in the east

I wasn't keen on adding the colour 

So I scanned in a brown textural paper for a more old authentic effect 

This works a lot better than the colour in my opinion

I tried a blend mode known as colour burn which gave a sort of scorched effect, I like it but I think another would work better.

I used the burn tool and cranked the exposure up to 100% and started to burn the paper .

I felt the wall needed that bit extra detail. so I decided to add some barbed wire. I opened a new canvas An drew a path and used a brush to brush along the path. then I defined it as custom brush.

From this I painted barbed wire along the wall, finally I added a eroded type ( new press eroded) across the page to add further.

And this was the final result. I think this was a good experiment,  I really have enjoyed this journey into mixed media I honestly feel that I could use this image for my final box artwork for my game but I need to plan out the sizes of the image so I can create the actual game but the experiments have been a success.